Convert QuickBooks Desktop to Online – Here Are Things You Must Know
QuickBooks, being one of the most popular accounting software, comes in both online as well as offline versions. This is because not every organization has the resources to get the internet running all the time. But, in order to make things simple for those who want to switch from QuickBooks Desktop to QuickBooks Online, the procedure is pretty easy and anyone can follow the steps to get it done.
There are, however, a handful of things that are required to be taken care of after someone has converted from QuickBooks Desktop to Online. This is why in this article, we are going to talk about all the important as well as optional things that you should do once the conversion is done. So, without further ado let’s get right into it.
In case you need any help from the certified team of accounting professionals then you can consult with our QuickBooks support team at +1-844-719-2859.
Also Read: QuickBooks Tool Hub Download & Install to Repair QB Errors
Things to consider before converting QuickBooks desktop to online
Before you migrate from QuickBooks desktop to QuickBooks online, here are a few pointers that you should keep in mind.
- Note that the process of migration from desktop to online might need some downtime for your team. Make sure to plan the migration process when it is a slow period or off hours to ensure that it might not impact your business much.
- Furthermore, the data present in QuickBooks can be moved online, but not all reports or features are present in both versions. Thus, you might need to migrate the reports before migrating the software.
- Another important point is to note that QuickBooks online makes use of a new pricing plan than QuickBooks desktop. According to this plan, a monthly subscription fee will be levied rather than a one-time purchase.
Reasons to Convert QuickBooks Desktop to Online
There can be multiple reasons to convert QuickBooks desktop to online. Here are a few of them for better understanding:
- Converting to QuickBooks online won’t cost you anything. The migration process is completely free.
- QuickBooks online provides a bunch of benefits and add-ons that are usually limited in QuickBooks Desktop.
- Instead of local networks or drives, when you switch to QuickBooks online, it hosts your data in a highly protected environment of top-grade servers.
- You can further sign up with more users in QB online.
- Also, when you convert QuickBooks enterprise to QuickBooks online, you do not bear hosting costs.
You may also read: What is QuickBooks error code 80070057?
Perks of migrating to QuickBooks online
There are a handful of perks of migrating to QuickBooks online. This includes the following:
- Smoother Association: Various users can make use of the software and work on the same file at the same time. In case you have a team of accountants, you can function on the same file without needing to send it back and forth.
- Enhanced Security: With QuickBooks online, you get enhanced security and the data is saved in the cloud.
- Incorporations: It is easy to link your particular accounting software with other software and applications, as well as business with QB online.
- Automatic backups: In QuickBooks online, the data is backed up automatically. Just in case something wrong happens, you will not have to lose any information. It is essential to keep a backup of the company file.
- Anywhere, anywhere access – You can access QuickBooks online regardless of the location.
Steps to convert QuickBooks Desktop to QuickBooks Online
You can try converting QuickBooks desktop to online using the set of steps enumerated below:
Method 1: Verify Data
At first, it is crucial to verify the data using the steps below.
- Initially move to the file tab and further click on utility.
- Once done with that, go for the verify option.
- In case there is any issue when verifying the data, you will be asked to rebuild the data.
- Once the rebuild data process ends, try to verify it again to see if the issue persists or not.
Method 2: Saving company file in QuickBooks online format
- Here, you need to open QuickBooks desktop and further create the company file copy which is compatible with QuickBooks online.
- Now, move to the files tab and click on utilities.
- After that move to the copy company files option for QuickBooks online.
- You now have to save the file on the desktop.
- This will help you to create a new QuickBooks file with the extension QE.qbw

You can also check: How to Fix: Can’t Back up with Intuit Data Protect Issue?
Method 3: Import QuickBooks desktop to QuickBooks online
- First of all, move to the company option and choose more.
- After that, go for Import QuickBooks Desktop Data.
- And further choose the file option that you want to import and let the process complete.
- After the importing process ends, you will get a confirmation mail.
Steps for converting Desktop file to QuickBooks online
Now that you have learnt the above process, it is time to check out the process to convert the files. Let us have a look at the steps involved in this process:
Step 1: Checking the file size requirements
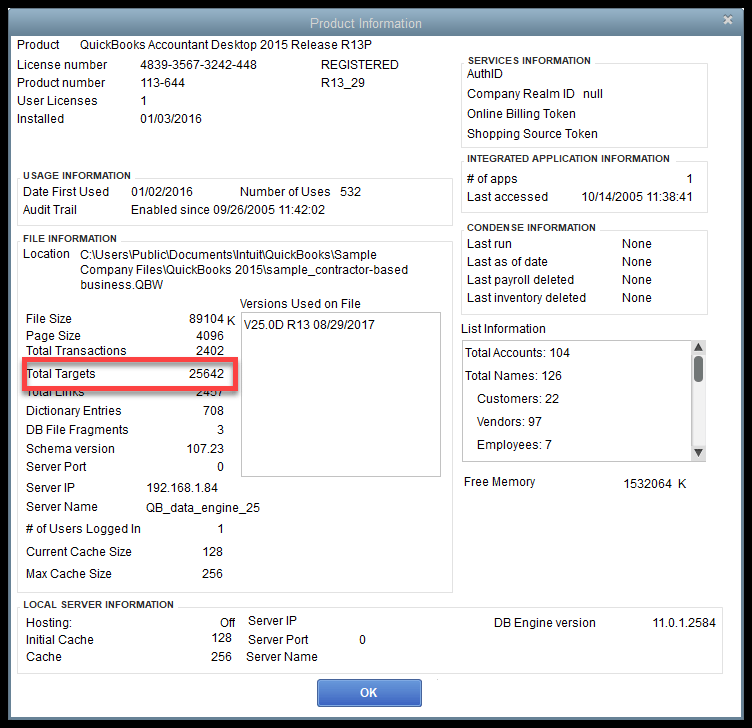
- Open QuickBooks desktop file and press F2
- In case you find that your file has more than 350,000 targets, then you can reduce the targets by condensing the file.
- You can further import data to QuickBooks within 60 days of subscription.
- In case it is more than 60 days, then continue with the below steps.
- Use the new email setup to QuickBooks online subscription verify data
Also Check this out: How to Fix QuickBooks Error H202, and H505 (6 Simple Tips)?
Step 2: Prepare QuickBooks data for export to QuickBooks online
- Finish all outstanding tasks such as bank accounts, inventory, payroll, etc. before performing the steps ahead.
- Update the data before converting and remove the unwanted data.
- Make sure to take a backup of the data in the data file.
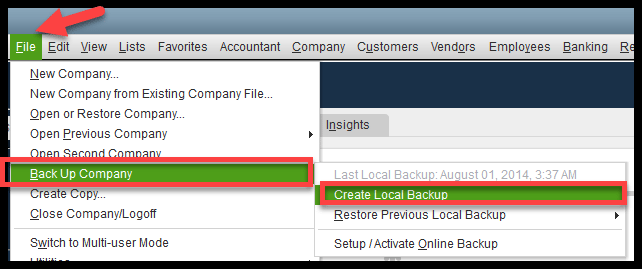
- In QuickBooks desktop file, move to the file option and further click on backup company.
- You now have to click on create local backup option.
Step 3: Create QuickBooks online account
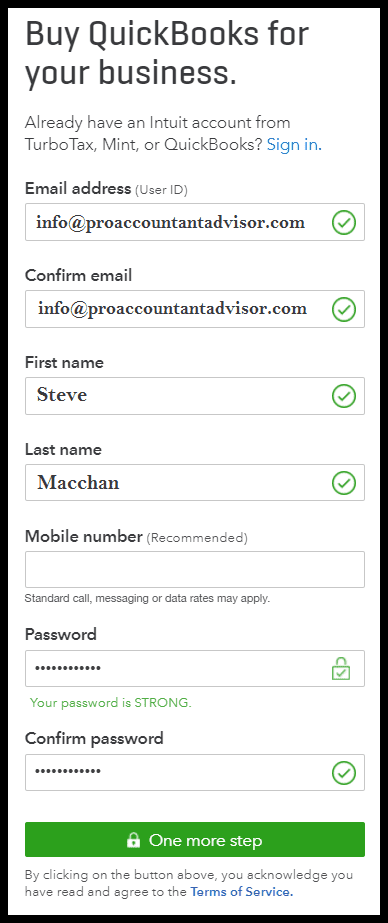
- After you are done with the data activities, create a QuickBooks online account and provide the important data needed such as email address, name, mobile number, and password
- After that, you need to log out of the account.
Step 4: Open QuickBooks
- Once you have logged out, the new QuickBooks online account will open QuickBooks desktop to export the data.
- Make sure to download the recent update.
- Go for the help menu and click on QuickBooks update.
- You now have to click on company menu and choose export company file to QuickBooks online
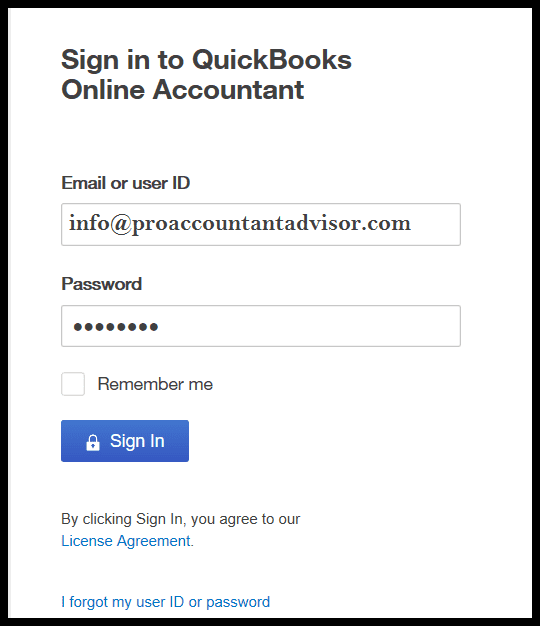
Step 5: Log in QuickBooks online account again
- After opting export company file to QuickBooks online after login to the new account, the system will ask if you wish to export the existing inventory.
- Note that, QuickBooks online values inventory using the FIFO method.
- The inventory will get calculated using the same method, in case you click on yes to the value.
Check out: Methods to Update QuickBooks Desktop to the latest release
Step 6: Select QuickBooks company file
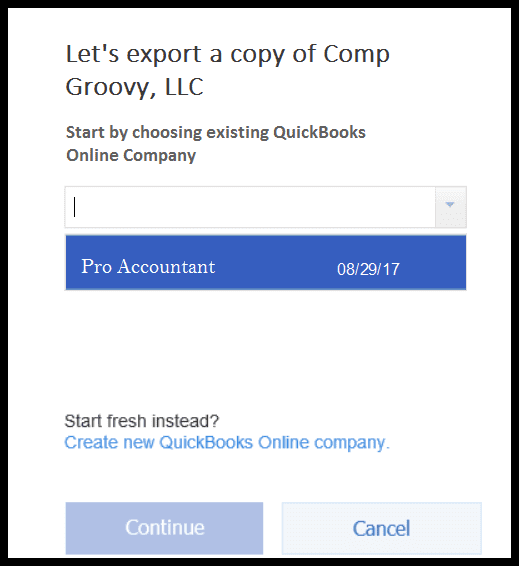
- From the drop down, choose QuickBooks online company where you wish to import data to QuickBooks online
Step 7: Copy Data file
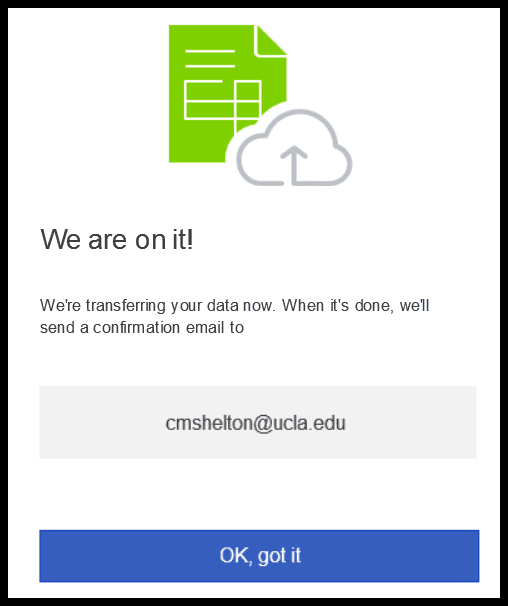
- After opting for the company file, copy the data file there which takes some time.
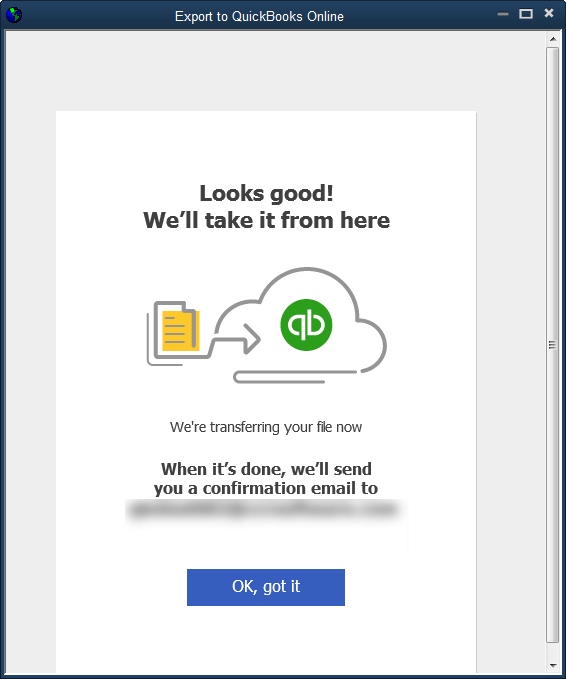
- Now, after all the data gets copied, you will get a notification and you need to click on ok tab.
- After that send a confirmation email regarding the same after the data is ready in QuickBooks.
- Before you start with QuickBooks online, make sure to check if the data is exported properly or not.
- You might further need to run a profit and loss statement and balance sheet report then can compare with QuickBooks desktop and online.
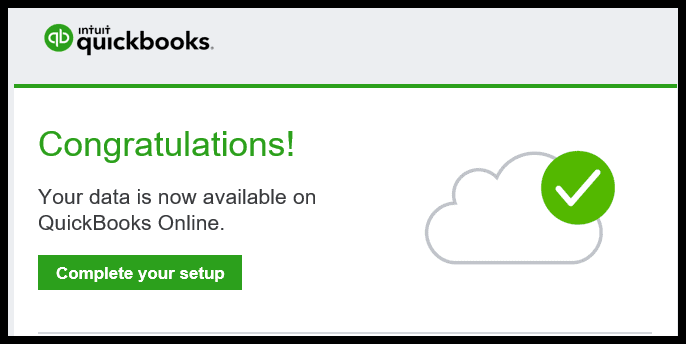
- You will then get an email notification after the data is ready.
- The last step is to click on complete your setup that takes you to log in to QuickBooks online and review the data.
You may also like: How to Resolve QuickBooks Error 6000?
Final Note!
These are some of the most basic things that you should do after convert QuickBooks Desktop to Online. This will not only save a lot of your time as well as it will keep you out of any sort of hassle whatsoever related to payments as well as transaction records. So, make sure to get these set up right away.
If you have any query or you need any assistance during or post converting QuickBooks desktop to online, you can contact our 24×7 QuickBooks premier support team at +1-844-719-2859 and speak to our certified experts.
FAQs related to Converting QuickBooks Desktop to Online
Yes, QuickBooks lets you convert from desktop to online. However, you might have to keep a check on certain points and convert your data file to online.
The migration from QuickBooks desktop to online is free of cost. You get free assisted migration and personalized setup from QuickBooks desktop pro, premier, Mac, or plus to QuickBooks online.
The pricing for QuickBooks online starts at $30/month, while QuickBooks desktop pricing starts at $549/year.
QuickBooks desktop is ideal for businesses that are comfortable with accounting and do not require real-time collaboration. Whereas, QuickBooks online is ideal for businesses looking for real-time collaboration and access to the QuickBooks file from any device.