Welcome to this guide where we are going to tell you about upgrading your company files when you switch to a new version of QuickBooks desktop. It’ is crucial to understand that simply upgrading to a newer QuickBooks desktop version doesn’t automatically upgrade your company files, there are some manual steps involved. For a detailed understanding of how to go about upgrading your company files after switching to a new QuickBooks desktop version, dive into the rest of this article. Alternatively, if you prefer assistance by an expert, you can reach out to our team of professionals at ++1-844-719-2859. They’ll take care of the situation for you. Happy reading, and feel free to contact us if you need assistance!
The important thing to remember
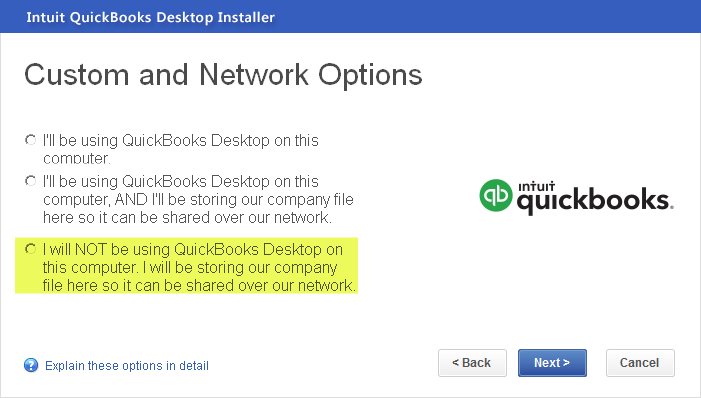
It should be noted that if the user uses right networks to host the company file, then he/she should learn more about the process to install a new version of QuickBooks. After the user installs, then the next step is to prep the company file. In case the user is using any other intuit hosting service to run QuickBooks, then connect to them directly to upgrade the files. In case the user subscribe to QuickBooks desktop pro, plus, premier plus, or enterprise, then avoid using these steps.
You might see also: How to Switch from a Different Accounting Software to QuickBooks Desktop?
Steps to upgrade your company files after you switch to a new version of QuickBooks Desktop
The user can perform the below steps to upgrade the company file after upgrading the QuickBooks software to the latest version.
Step 1: The first step is to install QuickBooks desktop
- The user should first sign in to Windows as an admin user
- After that, the user should download the new version of QuickBooks desktop, if haven’t already
- The next step is to follow the steps to install the new version.
Step 2: The user should prep the company file
- The user will have to open the original version of QuickBooks. Also, open the company file that is to be upgraded
- The next step is to press F2 key to open the product information window

- After that, look in the file information section. And also note the place you wish to save the company file
- The last step is to run the rebuild tool for the company file. This preps it for the upgrade.

Also, note that, if you keep the company files on the server, then it is suggested to move the company files back to the system’s local hard drive. The user can also move them back after upgrading.
Read Also: How to Setup and Configure Email Services in QuickBooks Desktop?
Step 3: After that upgrade the company file
The software asks the user to upgrade the company file the first time one opens it in the newer version. Also, note that the user might not be able to open the company file in the original version of QuickBooks after upgrading it.
- The user should ensure that all the users log out of the company file
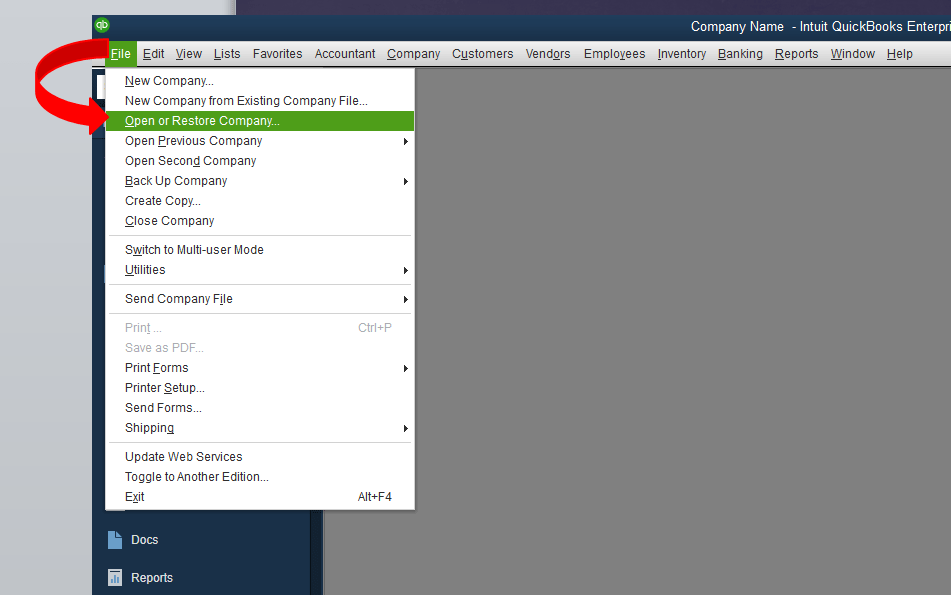
- The next step is to open the new version of QuickBooks
- The user should then select open or restore company, in case the user isn’t having a company file open. The user can also head to the file menu and choose open or restore company
- Now, select open a company file and hit next
- In case the user is having a backup company file instead of a company file, then selecting restore a backup copy and then selecting local backup is suggested
- The user should now browse the system for the company file and choose it and go for open option.
Note that, if the user isn’t able to find the company file, then selecting start menu of windows is suggested, and then he/she can look for the company file .qbw extension in the file explorer.
- The user should now, sign in to the company file as an admin user
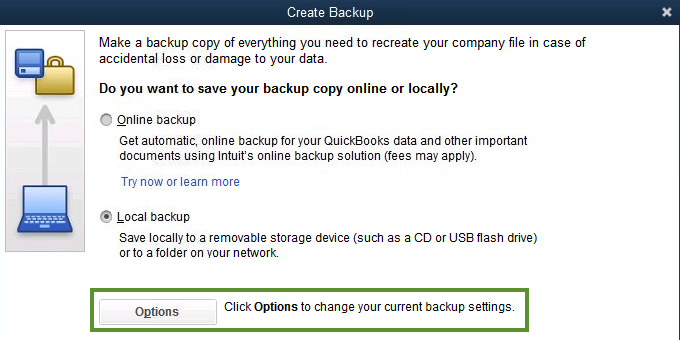
- And the software will automatically create a backup of the company file. The user can also select change this default location to save the backup in a specific folder
- And also, choose update now tab for starting the upgrade process
- The last step is to select done when the process ends.
The user can open the company file in the new version of QuickBooks. And if the company file is kept on a server, then it can be now moved back.
Step 4: The user should update QuickBooks desktop

In this last step, the user should upgrade and open the company file and then update QuickBooks desktop and you are done with the process.
Also see: How to Void or Delete a Bill or Bill Payment Check in QuickBooks?
Final Words..!
With this, we come to the end of this article, where we hope that the above-stated steps are more than enough to successfully upgrade company files after upgrading the QuickBooks desktop. Whereas, if the above-stated steps didn’t help you, then, in that case, contact our QuickBooks support team at +1-844-719-2859, and our professionals will ensure to come up with the best possible support service.
Upgrading your company files is essential because a newer version of QuickBooks Desktop doesn’t automatically update them. Manual steps are required to ensure compatibility and access to the latest features of the upgraded software.
No, upgrading the company file is not necessary if you switch to a different edition within the same version of QuickBooks Desktop. The upgrade is specifically required when transitioning to a new version to maintain data integrity.
The upgrading process may involve several steps, such as backing up your data, opening the company file in the new version, and following specific prompts for data conversion. Detailed instructions can be found in the QuickBooks documentation or our provided guide.
Absolutely! If you find the upgrading process challenging or prefer expert assistance, you can contact our team of professionals at ++1-844-719-2859. They are ready to handle the situation for you and ensure a smooth transition to the new version.