Things you need to know about the PDF and printing errors with QuickBooks Desktop
In the field of accounting, QuickBooks is one of the best software available. Since its inception customers have been enjoying its cutting-edge features and many say that this application has brought a revolution in the field of accounting’s. Each year Intuit launches a new version of QuickBooks which has new and improved features.
QuickBooks Desktop comes with many advanced features and it also has PDF and printing tool. However, often due to some reason users often face error in this feature. So, in this article we will discuss in depth about the feature PDF and printing as well as the error when you can’t print, email, or save as a PDF from QuickBooks Desktop. Also we will share the reasons as well as the solution to the problems. So keep read on!
Read Also: How to Fix QuickBooks Error Code 12029?
Common errors that can be fix using Print and PDF Repair tool in QuickBooks
| PDF Converter shows offline | The device is not ready | Could not print to printer |
| There is an Problems while printing transactions or reports | QuickBooks PDF Converter Activation Error -20, -30, or -41 | You cannot print directly to the QuickBooks PDF Converter |
| QuickBooks could not save your form or reports as a .pdf | QuickBooks freezes when you try to reconcile accounts | Error 1722 or 1801 when installing PDF Converter |
| QuickBooks is not responding | QB Unrecoverable error | Unable to save as .pdf file |
| There is a problem when connecting to your currently selected printer, Microsoft XPS Document writer on XPS port | Error: QuickBooks can’t complete the current action due to a missing component: Missing pdf file component | Print Driver Host for 32-bit Applications has Stopped Working |
Reasons behind the QuickBooks PDF and printing errors
There several causes behind the pdf and printing errors in QuickBooks and they are mentioned below.
- There is a Missing PDF record part
- PDF converter status that is being illustrated is getting disconnected.
- The establishment of the QuickBooks PDF converter is not complete.
- No association cannot be made between the framework and the printer.
- The printer programming isn’t introduced properly
- The Non-working Print Driver is present
- When you are preparing the gadget not message.
- An arranged network is not available
- QuickBooks is not renewed to the current discharge
- Some kind of problem with the system connectivity with gadgets
- Error messages being frequently displayed on the screen.
See also: What are the QuickBooks Desktop Pro 2020- Compelling features?
Important things to Remember
Below are some points that you must consider when trying to fix the PDF and Printing errors in QuickBooks desktop.
- Ensure that the printer is turned on/plugged in properly
- Check if the printer can print from some other program and if it does then the issue is not with QuickBooks.
- A simple way to solve the issue is by restarting and rebooting the computer.
- Printer Error message displayed on the screen and a ‘Printer Code‘ will also be there like: Windows Error Dialog, QuickBooks Error Dialog
- Often a situation arises when you can print reports but cannot print the transactions. To solve this issue you can modify the template of the form. However, corrupted templates cannot be repaired so in that case you have to try some other template.
Below we have shared some important steps to resolve the QuickBooks PDF and Printer errors. However you can contact to QuickBooks premier support team to get instant help.
See also: How to Fix QuickBooks Error 6150, 1006?
Solutions to Fix QuickBooks PDF and Printing errors
Checkout the following solution steps to troubleshoot the QuickBooks PDF and Print problems:
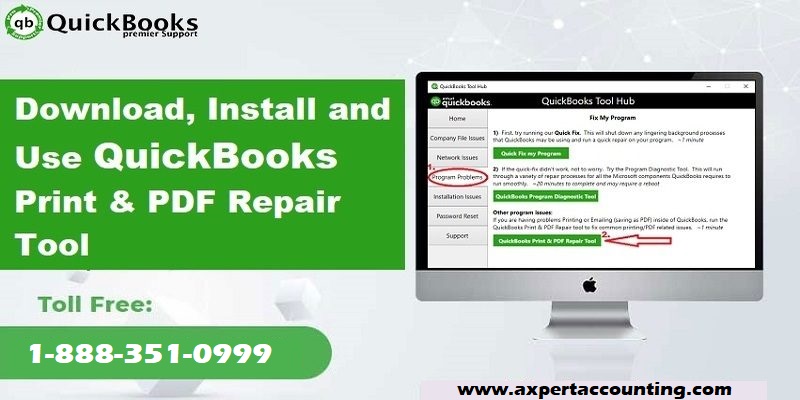
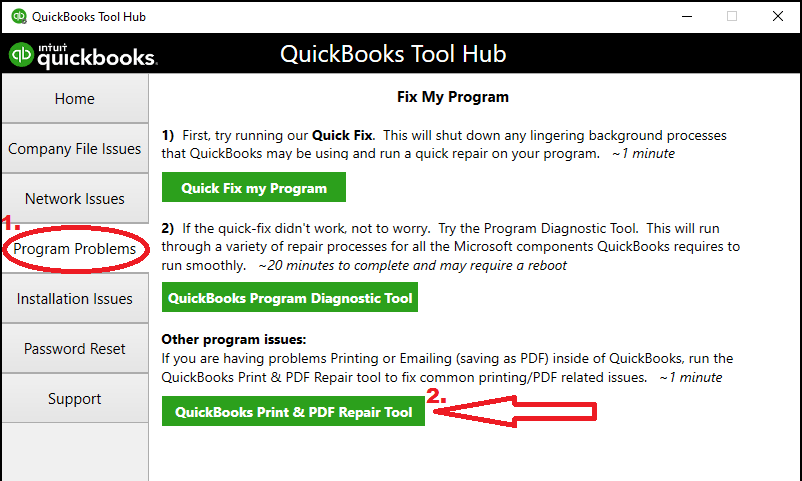
Solution 1: Install and run QuickBooks PDF and print repair tool
- Ensure that you update QuickBooks to the latest version before you troubleshoot.
- After this download the QuickBooks print and repair tool from the internet
- Once done try the pdf file related task that initially created the error.
- Generally this method can solve the problem but if it doesn’t then you have to try another solution.
Solution Reinstall and adjust the permissions for XPS document writer
Step 1: Test the XPS document writer by printing outside QuickBooks software
- First thing to do is go to the File Menu and then choose the Print option
- After this select Microsoft XPS document writer from the list of printers and then click on Print option.
- Now save the XPS file on your desktop
- Now you have to search for the XPS file and then open it. In case the file doesn’t open or an error occurs while opening it or if it isn’t properly shown then you have to reinstall the XPS document writer.
- While printing you get an error message or if the XPS document writer isn’t available then in that case you have to reinstall the XPS document writer.
Step 2: Reinstall the Microsoft XPS document writer
For the Step 2, below points needs to be considered
- First is to verify if the XPS services are enabled or not
- Reinstall the XPS Document writer in the windows. (Windows 8 or Windows 7/Windows Vista).
Step 3: Adjust all the windows user permissions for the XPS document
- In order to change the permissions login with the admin right.
- In the windows, open the Printer control panel
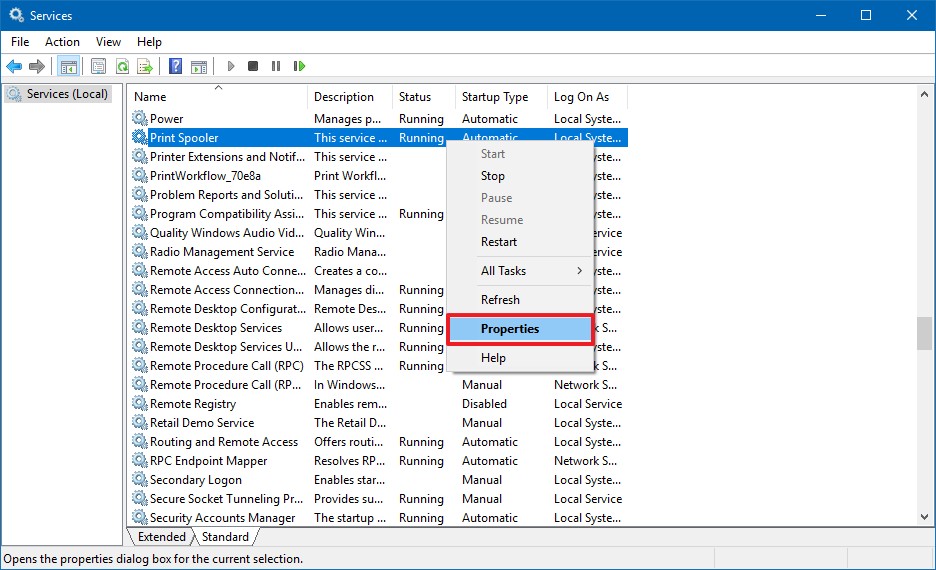
- Now right-click on the XPS document writer and then select the printer properties for Windows 8 and for Windows Vista choose Properties option.
- After this choose Security and then pick everyone user group.
- In case the everyone group is not in the list then.
- Click on the add button and then enter everyone in the field.
- Select check names and click on OK.
- After this go to Allow Column and then click on Print
- Now navigate C:\Windows\System32\spool in Windows Explorer
- Choose Printers > properties > security > edit option.
- Once done now choose to add and type Local service and then click on Enter key.
- Do make sure that the local service has complete control then click on OK
- Once done open QuickBooks and create a file.
Read it also: How to Fix QuickBooks Error Code 404?
Step 4: Edit Security Software Settings
- You need to verify the security software settings like antivirus, malware, McAfee antivirus etc so as to ensure that XPS files are not blocked.
Step 5: Install or fix the Microsoft XML 6.0
The MSXML 6.0 is a Microsoft Windows component and a part of the system requirements for the XPS Doc writer.
For Windows 8
- You have to float the mouse in the Upper or Lower right-hand corner and pick the magnifying glass.
- Now type Command and choose the Command Prompt
- After this you have to select the option on the bottom bar to ‘Run as administrator‘
- Once done enter the admin password and click Allow
- After this type in ‘sfc/scannow’.
For Windows Vista or Windows 7:
- First thing to do is Click on Start on Windows
- Now you have to choose ‘All programs>Accessories‘
- After this choose Command prompt and ‘run as Administrator‘
- Once done you have to provide the administrator password or click on Allow
- Now type in ‘sfc/scannow’.
Step 6: Create a new template for your form
- By taking help from the Creating New Templates, make a new template for your form.
- Change the template on your transactions.
- After this create your pdf file.
You may also read: Methods to Update QuickBooks Desktop to the latest release
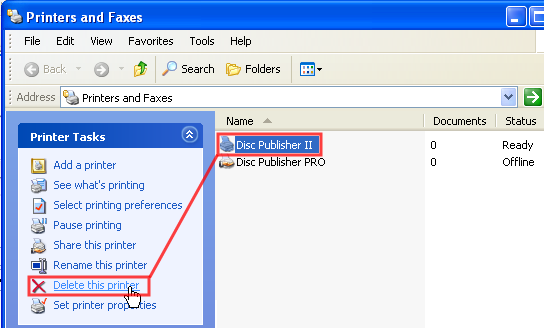
Solution 2: Delete or rename the Printer file
So, if all the above solutions don’t solve the issue then you should try deleting the damaged files and create new ones.
- Look for the files and find them.
- You should just Rename them to something like ‘qbprint.old and wpr.old’ instead of deleting them.
- Now you have to run QuickBooks and then Open Company file
- Choose the file >Printer Setup.
- After this choose any of the transaction in the Form Name and then click on OK button.
- The solution mentioned above will actually make you reset the printer settings in the software.
Solution 3: Bypass the print spooler tool
Set the XPS document writer to bypass the print spooler:
- Firstly open the Printers control panel in your computer.
- Hit a right click on MS XPS document writer and then choose the Printer properties option.
- Now choose the Advanced tab and choose Printer directly to Printer option.
- Finally hit a click on OK button to save your changes and close the Printer properties.
Read Also: What are the ways to Fix common QuickBooks Pro error codes?
Solution 4: Reset your temp folder permissions
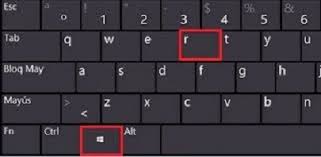
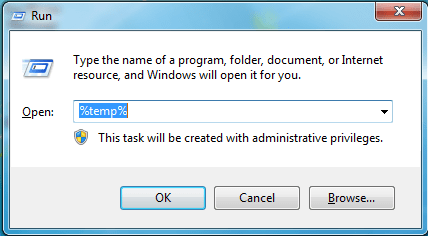
- Press the Windows key + R keys together to open the RUN command.
- After that type %TEMP% and hit on Enter key on your keyboard.
- After that right click on an empty area of the temp folder, and then choose Properties option.
- Now choose the Security tab.
- Kindly check that all usernames and groups are showing on the Security tab that have Full access.
- Once the permissions have been set to Full Control, you need to try saving as PDF again within your QuickBooks desktop.
Solution 5: Use QuickBooks Print repair tool
The steps involved in this process are as follows:
- The user needs to locate QBPrint.qbp file on the system having troubles printing with QuickBooks
- And then, the user needs to manually rename by prefixing any word
- The location of the file is C:\ProgramData\Intuit\QuickBooks 2XXX
- In case the user is unable to locate the file and ensure to un-hide the hidden files
- After that right click the QBprint.qbp to rename it
- The next step is to open a transaction that the user had a problem creating PDF in QuickBooks
- The user can now try to print from QuickBooks sample company file to confirm, if the problem was with the company file
Read it also: How to Fix QuickBooks Update Error 12007?
Conclusion!
In this article we discussed in details about the QuickBooks desktop pdf and printing errors, the reasons and also the solution. In case you have any query regarding the same or the problem doesn’t get fixed then you can seek assistance from QuickBooks support providers who are available 24/7 to provide you assistance of every kind. For more details, or in case you have any query, you can get in touch with support team at +1-844-539-0188.