Interested in finding out what causes QuickBooks error code 15223? Make sure to read this article till the end. QuickBooks error code 15223 is basically an update error that is seen with an error message stating:
“The QuickBooks desktop update did not complete successfully”
Or
“Cannot connect to QuickBooks desktop payroll”
This error is seen when the user tries to download the updates related to payroll or when there is any sort of issue with the windows registry. To know more about this error, reading this article till the end is suggested. Or the user can also contact our QuickBooks support team for any further assistance. The user can call us using our toll-free i.e. +1-844-719-2859,our experts and certified professionals will be there at your rescue. Our QuickBooks support team is known for instant support, so feel free to call us anytime.
See Also: How to Fix QuickBooks Error 80070057 While Opening a Company File?
What causes such an error?
Following can be the causes of QuickBooks error code 15223:
- The user can end up in such an error if the QuickBooks desktop installation isn’t successful
- Another reason can be if the internet explorer digital signature is outdated
- The user can also face similar issue if there is corrupted or damaged windows files
- Moreover, if the QuickBooks related files are deleted mistakenly
- Damaged windows registry can also cause such an error
What methods to perform to fix QuickBooks error code 15223?
The user can perform the below methods to fix the QuickBooks error code 15223. Let us have a look:
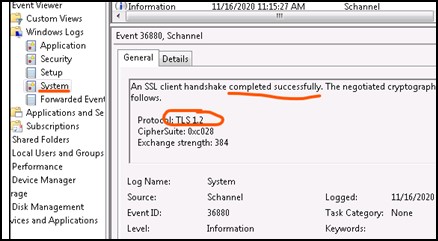
Method 1: Verify TLS 1.1 and Use TLS 1.2 aren’t checked
- The very first step is to open the internet explorer and go for the tools and internet options
- Once done with that, click on the advanced tab
- The next step is to navigate to the use TLS 1.0, use TLS 1.1, and use TLS 1.2 from the settings
- After that verify that the use TLS 1.1, and use TLS 1.2 are unchecked and 1.0 is checked
- The user should then select the apply tab and also click ok tab
- The last step is to click on retry the update
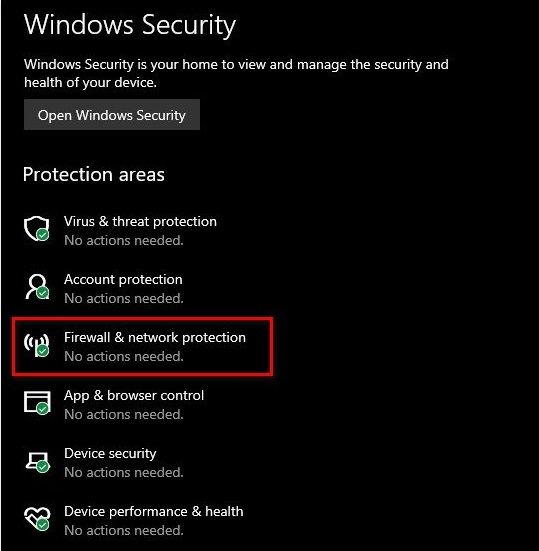
Method 2: Configuring the firewall settings
- At first, the user should click on the start menu and then move to the windows firewall
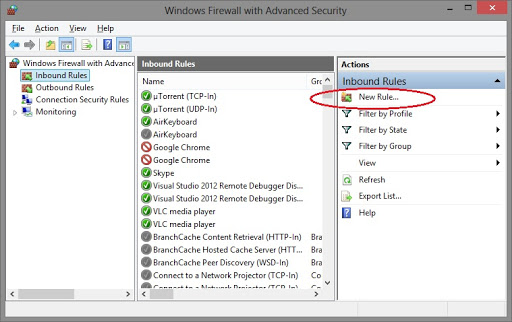
- The user should then go for advanced from the right side
- And also, right click the inbound rules and also choose new rule option
- The user will have to select the program and also click on the next tab
- Once done with that click on the program path and click on browse tab
- Now, select any of the path and also click on next tab
- The user should choose allow the connection option and also click on next tab again
- After that, the user should choose finish tab and also assign a name to the rule
- Perform the steps for outbound rules
- The end of the process requires the user to open QuickBooks in multi user mode
Add firewall port exception for QuickBooks
- In this process, the user needs to open the windows start menu and also enter the windows firewall into the search and open windows firewall
- The next step is to move to the advanced settings
- Now, right click the inbound rules and also choose new rule
- Once done with that, the user should choose post and also click on next tab
- After that, ensure that TCP is selected
- In the specific local ports field the user should enter the specific ports needed for QuickBooks year version:
- QuickBooks desktop 2021: 8019, XXXXX
- QB 2020: 8019, XXXXX
- QuickBooks desktop 2019: 8019, XXXXX
- QB 2018: 819, 56728, 55378-55382
- QuickBooks desktop 2017: 8019, 56727, 55373-55377
- After that enter the port number and also click on next tab
- The user should select allow the connection and also hit a click on next tab
- Also, ensure that the profiles are marked and if asked then click on next tab
- The next step is to click on create a rule and name it
- The last step is to select finish tab
Read Also: How to Fix QuickBooks Error Code 15221?
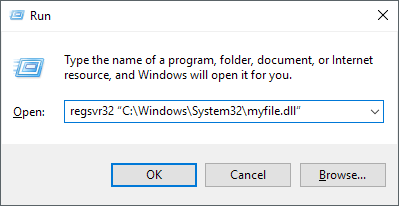
Method 3: Registering the DLL files
- The very first step is to press apply and also click on ok tab
- Once done with that, the user should try to download the updates
- The next step is to do a clean uninstall/reinstall in the selective startup
- After that, manually rename the C:\Program files\common files\intuit\QuickBooks
- The last step is to download the QuickBooks desktop update and reinstall the same in selective startup mode
Method 4: Delete the Internet SSL state
- In this method, the user should open the internet explorer browser
- The next step is to move to the tools and the internet options and also the content tab
- The user should then go for the clear SSL state from the content tab
- Also, restart the system and open QuickBooks
- Lastly, the user should download the latest payroll tax table update
See This Also: How to Resolve the QuickBooks error code 15222?
Winding Up!
At the end of this article, it is expected that the user might be able to get rid of the QuickBooks error code 15223. However, if you are unable to get rid of the issue even after performing the steps above, then in that case it is suggested to get in touch with our QuickBooks professionals and let them work on your behalf.